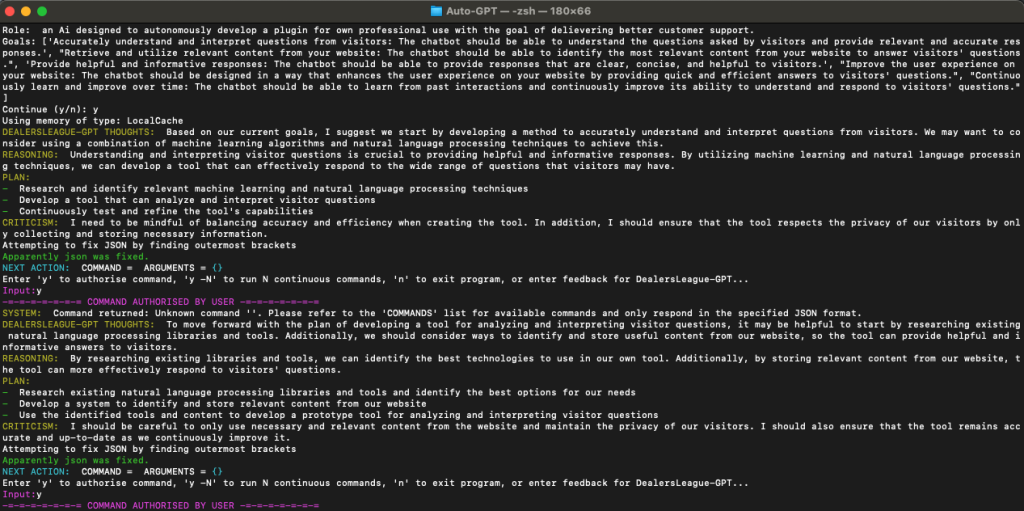
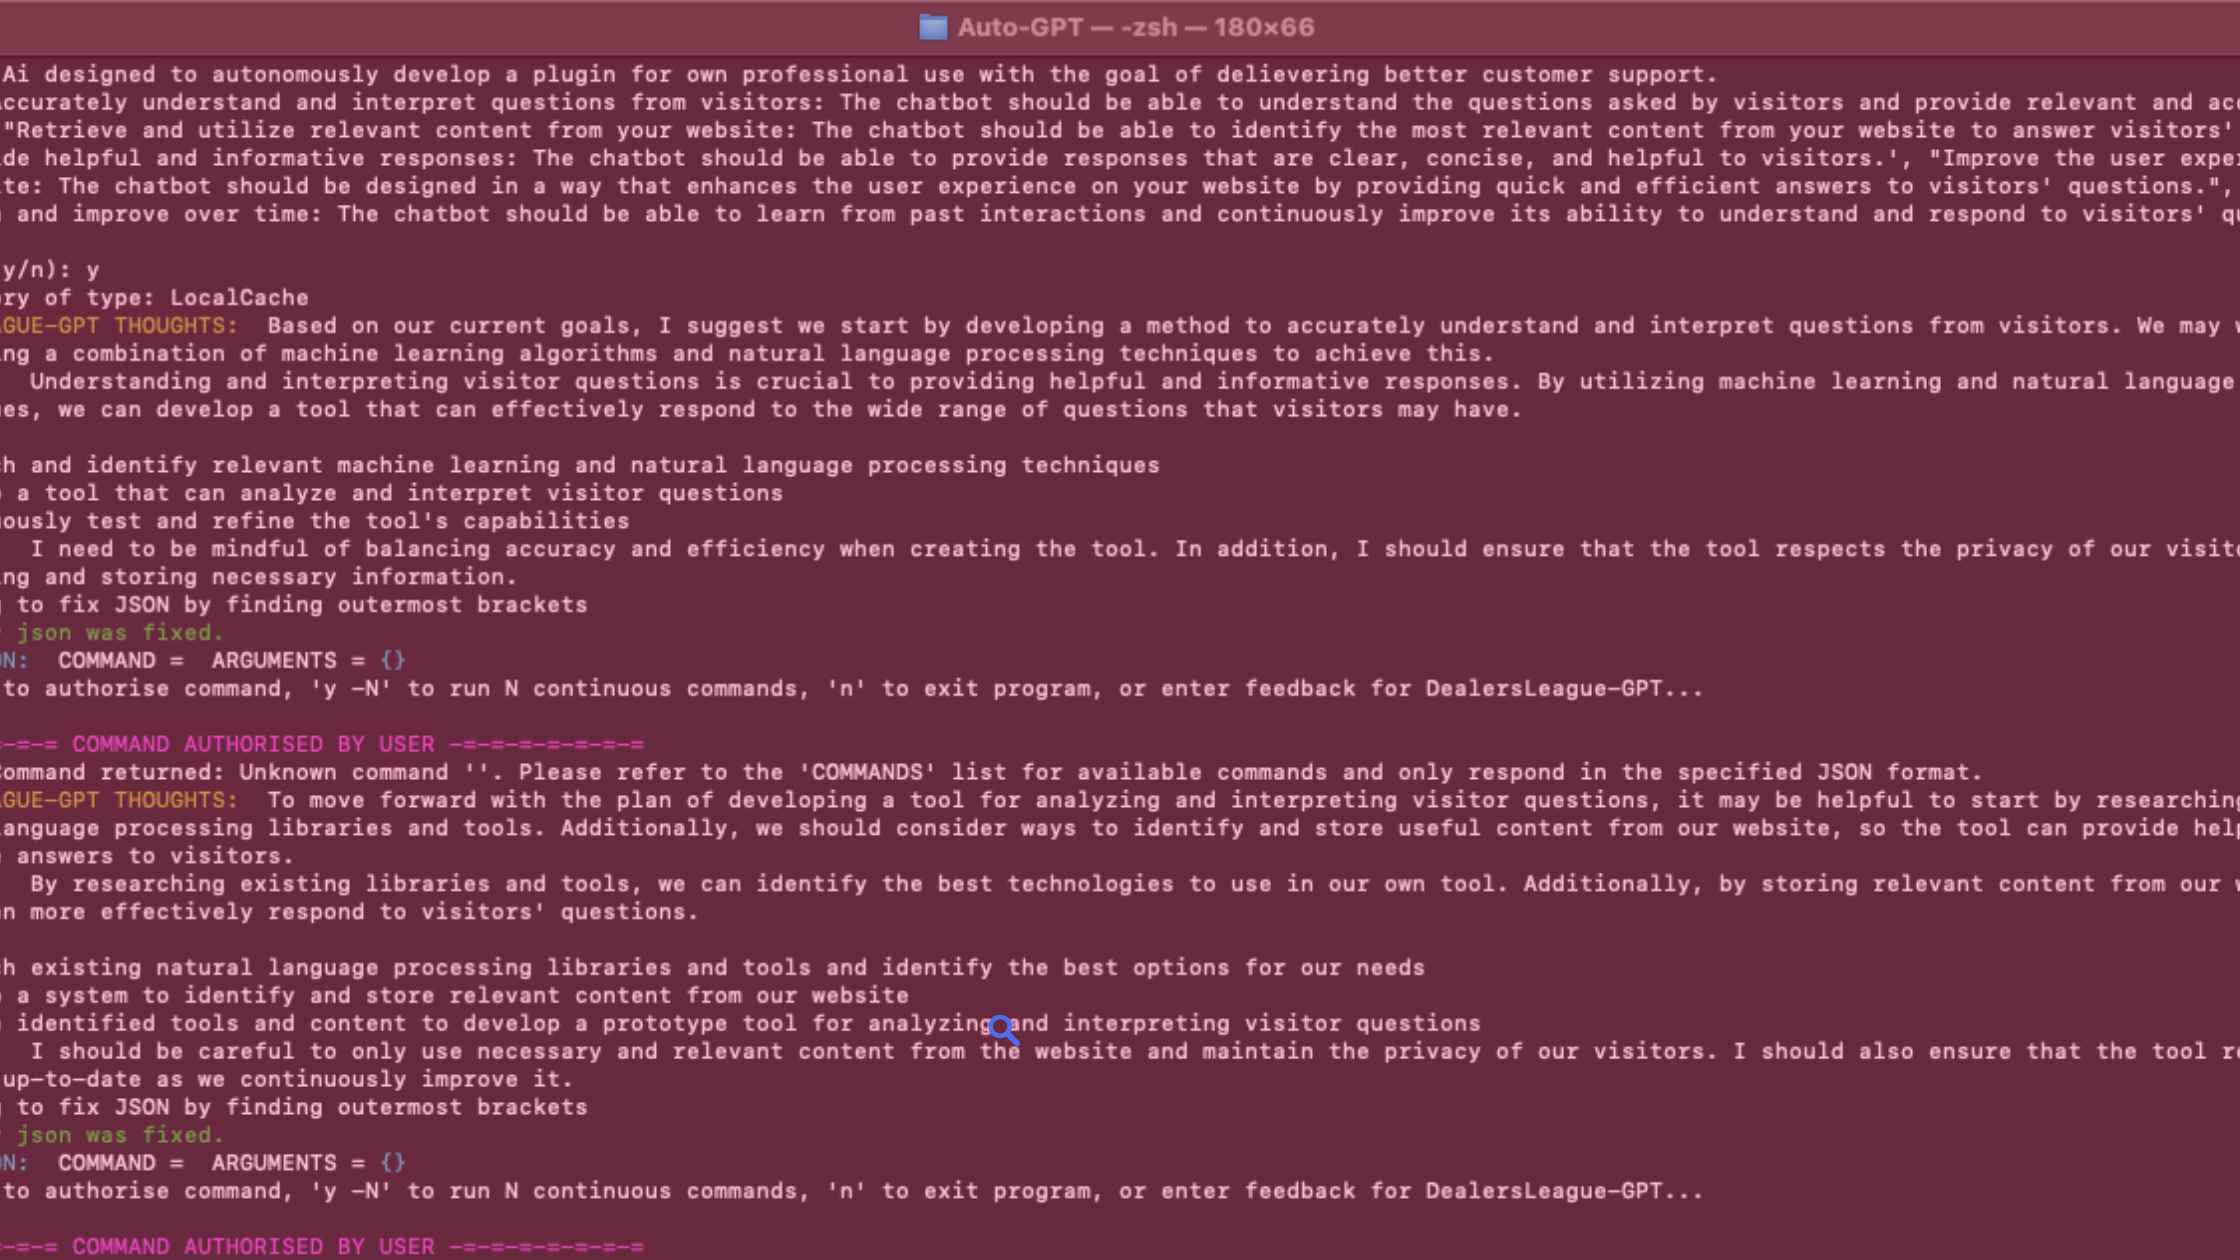
Ready to enter the fascinating world of Auto-GPT and generative models? Grab on to something, because we are about to embark on a journey to explore this advanced technology. I promise that by the end of this tutorial, you’ll be able to set up Auto-GPT and understand its relationship to generative models, whatever your field of expertise.
What is Auto-GPT and how is it related to Generative Agents?
Auto-GPT is a powerful AI model designed for various tasks like text generation, translation, and other wonders. It works its magic using a technique called Generative Pre-trained Transformer (GPT), which is a type of generative model. Generative models are AI models that can generate new data based on the patterns they’ve learned from existing data. They’re like master artists of the AI world, creating new, never-before-seen masterpieces.
Auto-GPT and generative models work in harmony to bring out the remarkable power of AI, allowing us to tackle a wide range of problems with ease.

Setting up Auto-GPT
Configuring Auto-GPT can be a bit like putting together a puzzle – you need to find all the right pieces and place them in the correct position. The first step is to obtain a pre-trained GPT model, which can be found on popular code hosting platforms such as GitHub. Once you have the model, you can tweak its settings to fit your particular use case by adjusting its parameters.
Now, let’s learn how to set up this amazing Auto-GPT, shall we?
To set up Auto-GPT on your computer, you will need the latest version of Python. Python is a programming language used for developing software, web applications, and AI models. To set up Auto-GPT on your computer, you will need to have Python installed. You can download the latest version of Python from the official website. Once you have downloaded and installed Python, you will be able to use the pip package manager to install the required dependencies for Auto-GPT.
Go to GitHub
Go to the GitHub repository where you can find Auto-GPT source code and copy the repository URL.
Clone the repository
Open the terminal of your computer, navigate to where you would like to clone the repository and execute the following command:
git clone https://github.com/Significant-Gravitas/Auto-GPT.git
Install the required dependencies
Make sure you are in the directory where the repository was cloned (otherwise navigate to it using the “cd” command) and install all the required dependencies by executing the command:
pip install -r requirements.txt
Give Auto-GPT access to your API keys
For Auto-GPT to work, it needs access to GPT-4 (GPT-3.5 can also work but will return less favourable results and has a higher tendency to hallucinate). To configure the settings for Auto-GPT, you need to set it up with your API key. If you don’t have one, you can get it from OpenAI’s website. For this, you will need to create a new account (if you don´t have one already) and click “Create new secret key”.
Remember to keep your key safely stored since you won’t be able to see it after this (you can always create a new one and change it in the configuration file).
To give Auto-GPT access to your API key, you will need to open the file under the name .env.template in the directory where you clone the repository. There you will need to replace “your-api-openai-key” by your actual API key.
Give memory to your agent
It is also possible to give your Auto-GPT memory for the LLM (Large Language Model) to be able to retrieve information. You can do this using different vector databases (such as Redis, Weaviate, Milvus, and Pinecone) but for simplicity in this tutorial, we will use Pinecone. For this next step, you will need to go to Pinecone and set up a free account (unfortunately at the moment due to high demand there is a waiting list on the Starter plan) once the account has been made. You will have to go to “API keys”, then “Create API key”
Once you have all this set up, you need to give Auto-GPT access to these keys. In the same file where you set up Open AI’s API key you will need to replace “your-pinecone-api-key” (a) and “your-pinecone-region” (b) you can obtain this information from the API key you just created in Pinecone.
Replace the values in your .env.template file
Copy the key and environment and replace the values in the following lines.
Rename your .env file.
Once you have finished the configuration, rename the file .env.template to .env by running the following command:

Now you’re all set up and ready to run Auto-GPT. Follow the next step to see it in action!
Run your agent.
Now go back to the terminal and navigate to the directory where the repository was cloned and run the following command:

Congratulations! Your Auto-GPT agent is up and running.
Now that you have Auto-GPT up and running, it’s time to start generating some amazing content. One of the most exciting things about Auto-GPT is its ability to generate new, relevant, and coherent text based on the input it receives. Whether you want to generate product descriptions, headlines, or even entire articles, Auto-GPT can help you do it quickly and easily.
To start generating text, you’ll need to give Auto-GPT some input. This input could be a prompt or a sentence that describes the type of content you want to generate. For example, if you want to generate a product description, your input could be the product name, its features, and benefits.
Once you have your input, you can pass it to Auto-GPT and let it work its magic. You can do this by using the API or the command-line interface (CLI). The API is perfect for integrating Auto-GPT into your existing software or web application, while the CLI is great for testing and exploring Auto-GPT’s capabilities.
Here’s an example of how to use Auto-GPT with the CLI:
- Open the terminal and navigate to the directory where you cloned the Auto-GPT repository.
- Run the following command to start the Auto-GPT interactive prompt:

- Enter your input and press Enter. For example, you could enter:

- Auto-GPT will generate new, relevant, and coherent text based on your input. You can keep entering new prompts to generate more text.
Summary
Auto-GPT is a versatile tool that can be used for a wide range of applications. Here are just a few examples:
- Content creation: Generate blog posts, articles, or social media posts.
- Chatbots: Create intelligent chatbots that can communicate with customers and provide support.
- Product descriptions: Generate product descriptions for e-commerce websites.
- Language translation: Translate text from one language to another.
- Text completion: Complete text that’s missing information, such as filling in the blanks in a form.
Auto-GPT is an exciting technology that’s sure to change the way we think about AI and generative models. With its power and versatility, the possibilities are endless. By following this comprehensive guide, you’re now well-equipped to set up and use Auto-GPT to generate amazing content.
Sobre el autor: Michael Masa
¿Por qué debería escucharme? Con una rica formación en marketing y pasión por compartir conocimientos, he dedicado los últimos 9 años de mi vida a este campo. He trabajado como director de marketing y he contribuido decisivamente a dar forma a la estrategia de marketing de una de las principales aseguradoras europeas, BAVARIA AG.
Antes de mi puesto actual, pasé 12 años como Director de Ventas, gestionando un equipo de 12 personas dinámicas y aplicando las últimas técnicas de ventas para impulsar el éxito. Esta experiencia me permitió perfeccionar mis dotes de liderazgo y adquirir un profundo conocimiento del sector de las ventas.
Ahora estoy al frente de Dealers League, una agencia de marketing que no solo crea y gestiona sitios web para empresas, sino que también se centra en la importancia de las estrategias de marketing eficaces. Reconociendo la necesidad de un aprendizaje continuo en este sector tan acelerado, ofrecemos cursos sobre las últimas técnicas de marketing.
Mi variada experiencia en ventas y marketing me da una visión única de cómo se entrecruzan estas dos áreas cruciales. Espero poder compartir mis conocimientos y puntos de vista con usted a través de este blog.


Scarlett Thomas
The inclusion of evergreen content strategies and the emphasis on flexibility in planning showcase a deep understanding of the dynamic nature of digital marketing. Thank you for providing such a valuable information.